What Is the Best Resolution for Canvas Prints?
Photographs and such other graphics are totally based upon their resolution and for the best end result of it, there needs to be an accurate resolution size. The quality of a particular image makes a big difference because the scaling for printing cannot be done without losing some quality of the image. Hence the better quality an image possesses, the smoother and detail-oriented output can be achieved. On the contrary, if the image has a low resolution, the output will be blurry and unclear.
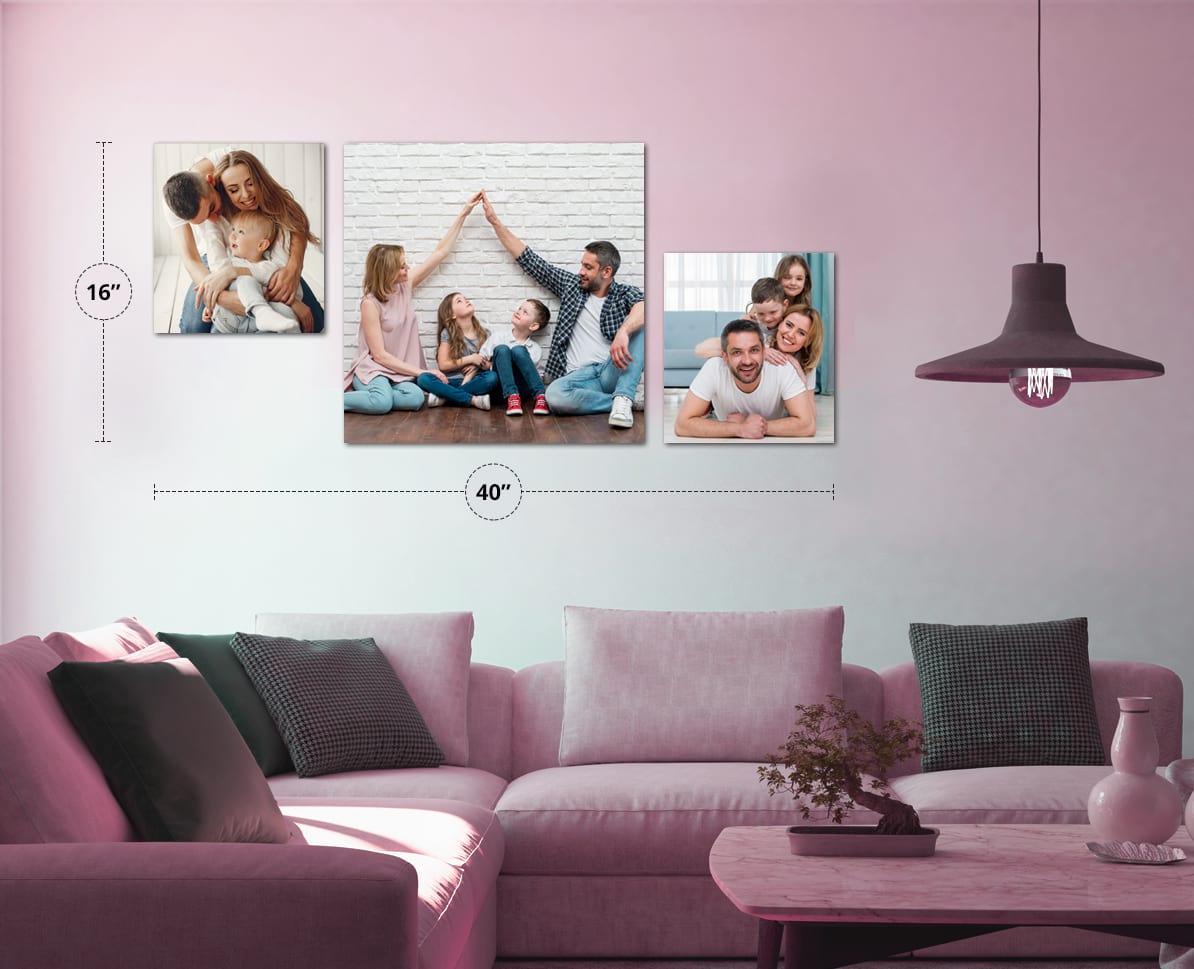
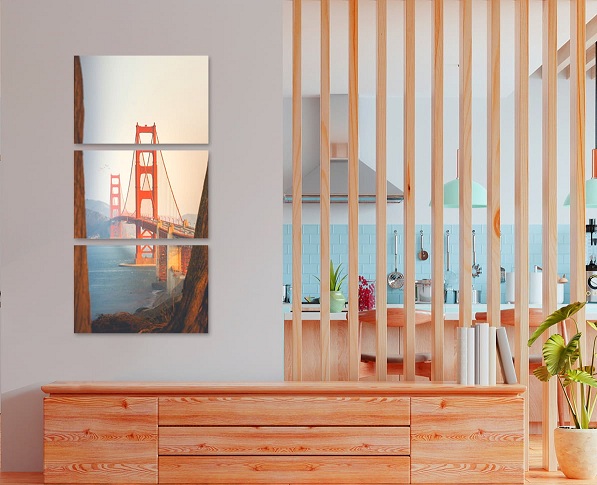
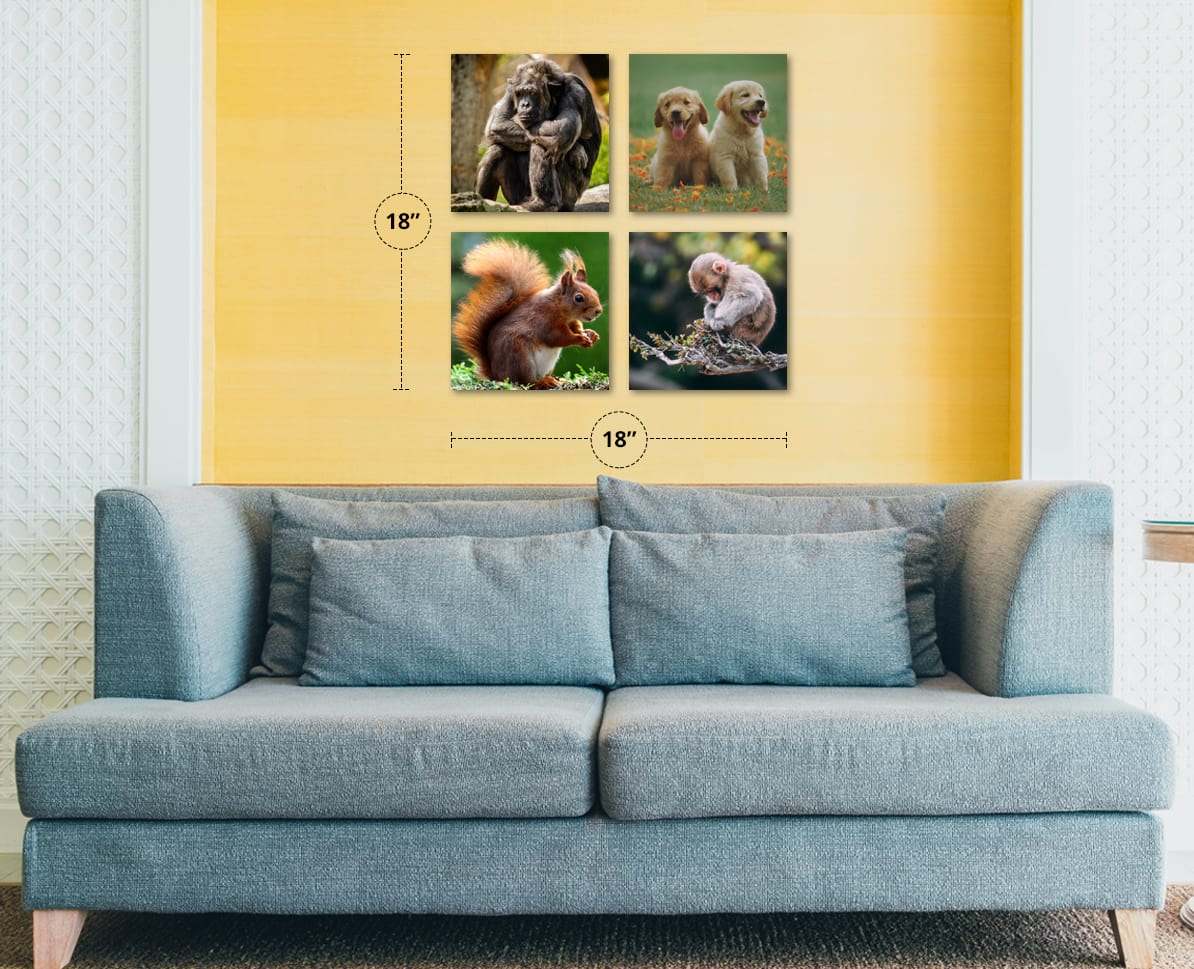
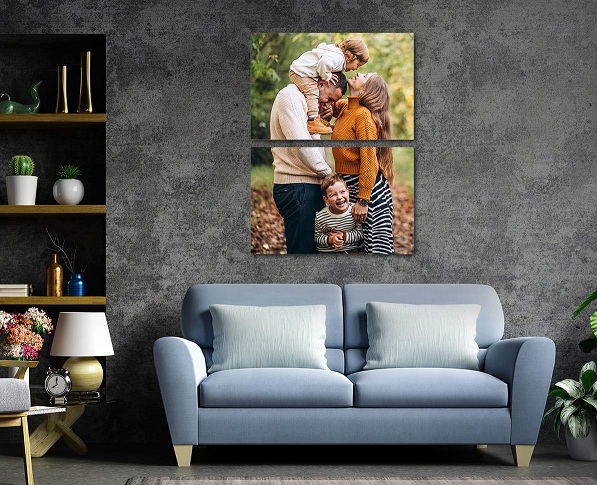
Recommended Picture Resolutions for Mid- to Large-Scale Canvas Prints
PPI (Pixels per Inch) is a well-known term to determine Image resolution which is nothing but the number of pixels in the covered size.
How to Check Your Image Resolution?
There are some very easy steps to check your image resolution.
Step - 1. Open the start menu by clicking on the start button which is on the extreme left side of your screen.
As soon as you will click the computer from the start menu, a file showing different windows will open up.
Step - 2. Look for the image of which resolution you want to check.
Step - 3. By right-clicking on the selected image, you’ll be able to see an option called property
Step – 4. Now click on the property to get the details of the image
Finally, you can get to see the resolution of that particular image which is normally measured in DPI.
How to Make a High-Resolution Image for Print or Web?
One of the best mediums to showcase your creativity is certainly the photography skills you have but more than often the original image doesn’t look that much impressive. That’s why you have to resize the image and when you try to make a high resolution of an image, it ends up having a quality loss. Through Photoshop you can make a higher resolution image for print or for the web as described below.
Step 1: Importing an Image
The first step is very easy and basic in which all you need to do is import the image by clicking on the ‘Image’ window which is right next to the Edit window on top of your screen. And then select the size of the image as shown below.
Step 2: Changing the height and width of an Image
There are two possibilities here. If you want the same dimension of your image, the only thing you need to do is click on the ‘Resample image’. In the other possibility, you can change the height and width of the image manually by unticking the “Resample Image”.
Step 3: Resolution of the image to be increased
Finally, if you want the resolution of your image to be better than you have to be mindful of changing the height and width of the image in a way that can balance the quality of the image and doesn’t pixelate! By clicking on ‘Ok’, your image gets ready with the higher resolution either for print or web.
JPEG, TIFF or PDF – Which image format is suitable?
JEPG, TIFF, and PDF are the main three formats in which you’ll find your image clicked. Every format has its own characteristic and they all represent their importance when it comes to printing an image. Although they all are very powerful formats, one amongst them all is the most suitable format.
TIFF
This format consists of the large file since it’s uncompressed and always bigger in size. Most of the publishers prefer TIFF as an image but when it’s time to get a print, it isn’t a practical option due to the heavy size of it. The best part about TIFF is that for printing purposes, it produces the top quality of the given image.
Portable Document Format is the full form of PDF. As per the name, it’s portable and a complete format to print. Probably the best format out of all the three mentioned here. The best part about PDF is that when you send it to the vendor for printing, you don’t have to send everything because it does consist of all the needed colors, fonts and settings in build.
JPEG
A format which is basically a compressed version of a bigger format is JPEG. Whenever you’re editing your image in Photoshop or any other software, the size of the file can be easily decreased by managing the level of compression in the option. When the compression is set on a low size and if done properly it’s definitely the easier format to print an image.
How to Change the Resolution of a Photo on My Computer?
The sharpness of images is based on the pixels per inch it has in it. This resolution can be changed very easily on your computer be it windows or mac. It’s advisable to have at least 300 PPI in your image when it’s sent for printing to achieve the best of the result. You will have to follow the same procedure as mentioned in the above steps but make changes in different settings.
Below is a way of increasing or decreasing the resolution using Photoshop:
Step 1 - Open the Photoshop software and Import the image on the canvas.
Step 2 - After importing go to the image menu to change the size of the imported image.
Step 3 - Click on the resolution box and change the resolution as per your need. While doing this make sure to select the inch/pixels.
Step 4 - Finally by clicking on ‘OK’, the new resolution of the image is set.
-
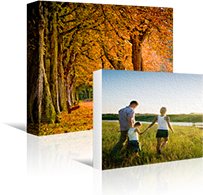
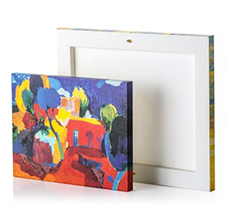
 Canvas Print$4.24
 -
 Photo Collage$14.02
 -
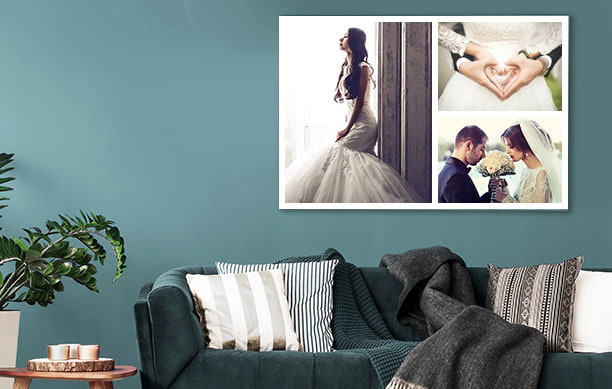
 Wall Display Canvas$19.46